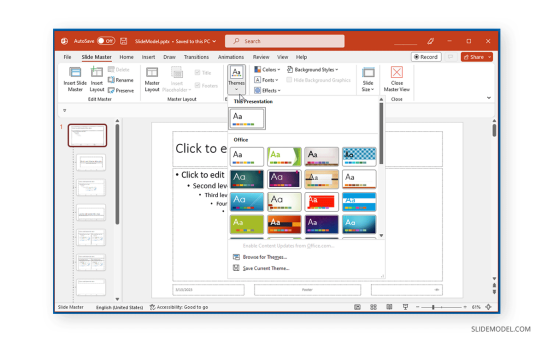
Unit 4: Slide Master
PowerPoint Slide Master gives you control over how to display slides with uniformity based on your preferences. It is available via the View tab in PowerPoint and can be used to set logos, fonts, images, and other parts of your slides using a master view. The top slide or Master Slide in PowerPoint Slide Master is the primary slide, changes to which are reflected across the whole presentation. This is followed by other layouts available for your presentation that can also be adjusted in Slide Master.
How to Edit a Master Slide in PowerPoint
PowerPoint, by default, provides a Master Slide for every slide deck, even if you start with a blank presentation. For PowerPoint templates downloaded from the Microsoft Store or third-party sources, Master Slides are more refined than the default layout in PowerPoint. You can edit the Master Slide in a PowerPoint presentation via View - Slide Master.
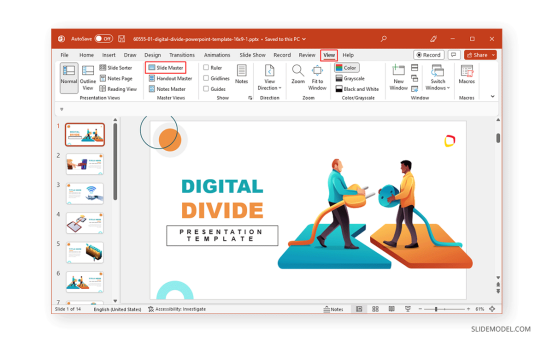
The PowerPoint Master Slide is located at the top, and any changes made to it are reflected across all slides. For example, if you place a logo on the Master Slide of a PowerPoint presentation, it will automatically appear on all slides in the presentation. Similarly, you can set the font style, font color, default image, and other elements for your slides by editing the Master Slide.
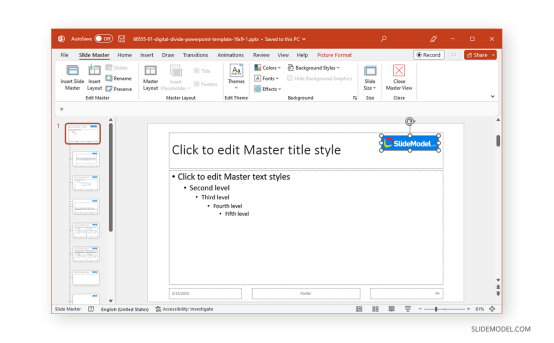
How to Create a Master Slide in PowerPoint
Creating a master slide in PowerPoint that can be replicated across various presentations can help ensure that you can quickly apply the changes to new presentations while retaining your desired branding and theme style.
To do this, you can create a PowerPoint Master Slide from scratch.
To create a new Master Slide in PowerPoint, open a blank presentation and go to View -> Slide Master.
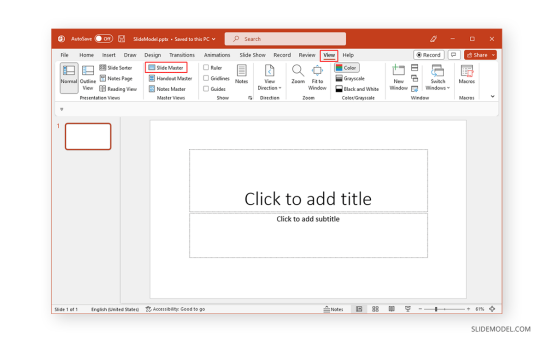
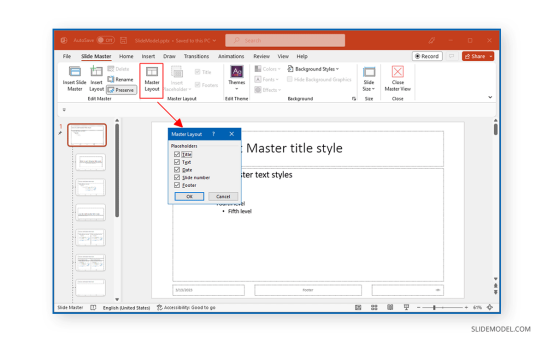
From the Master Layout option in Slide Master, you can select the elements that you wish to single out for editing.
You can begin editing the master slide by adding a theme, logo, changing the font style, and adjusting other slide elements.